March 18
Final product
I made four beads which I am ultimately pretty satisfied with. However, I think if I were to do this project again I would apply more of what I learned in the later weeks of this class to try and vary the shapes of the beads or find a way to make a “string” to attach them together with.
March 11
Process
Because my shape was pretty simple, I wanted to make it more complicated in how I embellished it. I cut out all of the details by hand because that was what I was more comfortable with. If I were to do this project again, I would probably cut these details out with the laser cutter but I liked experimenting with different ways I could layer the paper and details for different effects
I wanted to try experimenting with different ways I could make the paper interact to make the surface more interesting because the beads themselves were pretty simple.
March 5
Making it into paper
It is a little wonky but that is just because I don’t think I cut the lines very well. Initially, I tried rubber cement because I am used to it and thought the strong hold would be good. However, it looked really messy and dried really chunky and lumpy. I opted for a glue stick and I’m glad I did so I think that if the sides ended up looking even I would make more of these and they would look more like beads. I am glad I settled for a simple version of something I wanted to create, because I am somewhat proud of the thing I made, considering my skill level.
Ideation phase
I really really struggled with this part of the project.
I knew what I wanted to create but I simplified it quite significantly because I am not confident in my rhino skills. Even so, I found it really hard to make what I wanted to make. I referred to the community notes and got started on it pretty close to the class on Wednesday because I was worried I’d forget how to use the commands
I had a lot of ideas for making my shapes but it was really difficult because I had a vision for how they were supposed to be but I had to oversimplify it so I could do it and even then I was having issues.
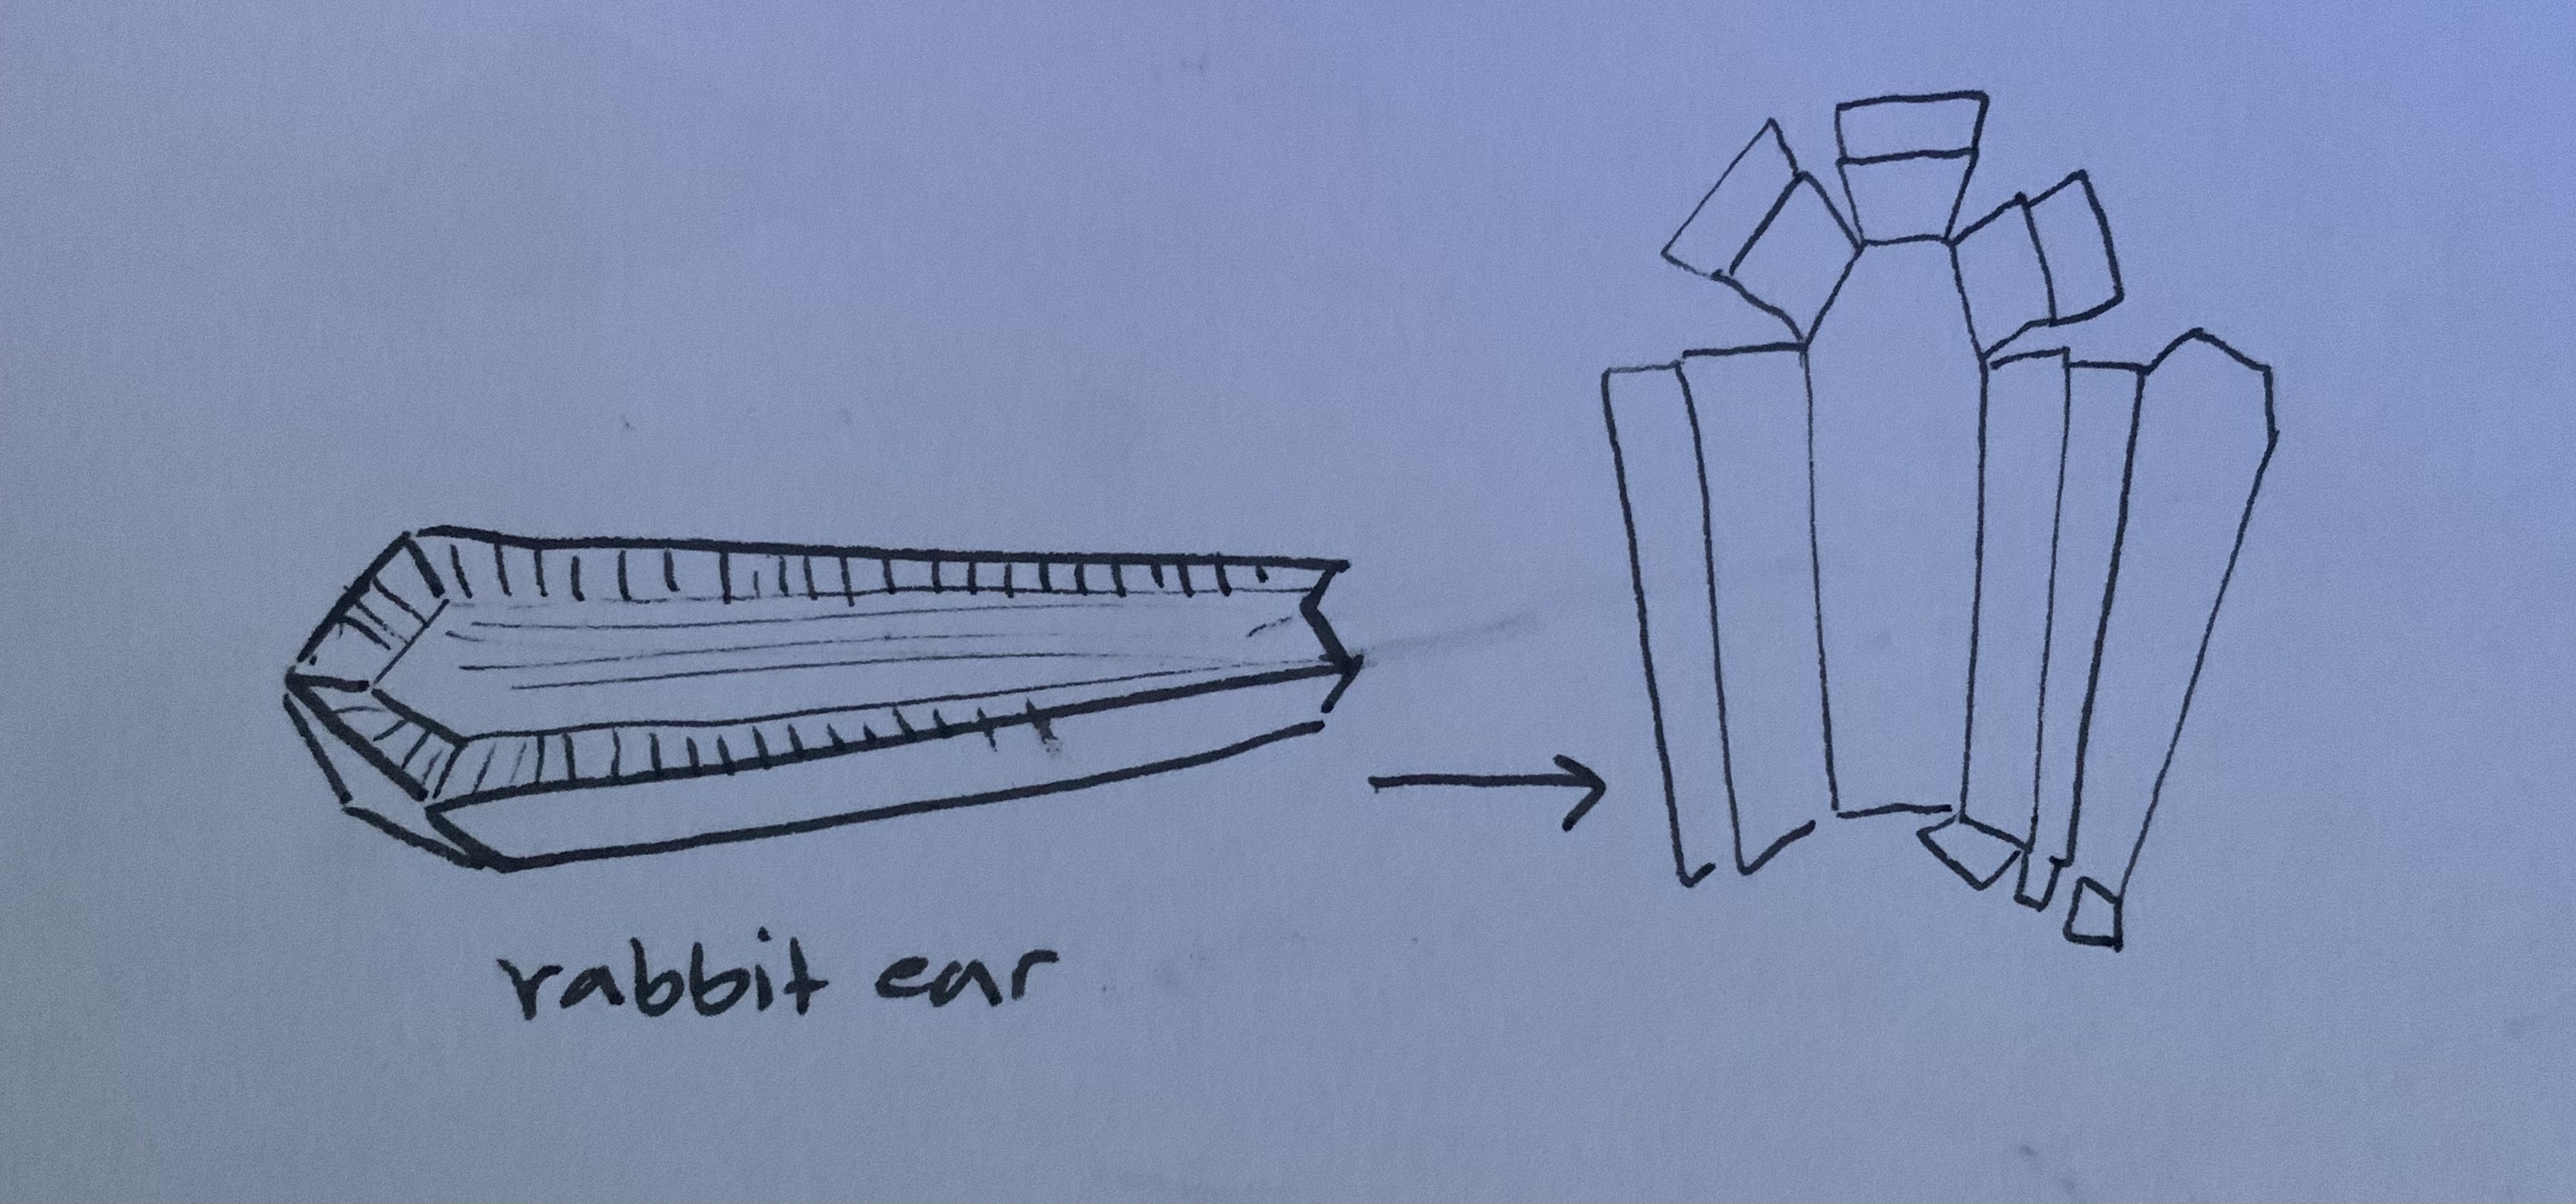
This is the way oversimplified view of the stuffed rabbit head which I wanted to make
When I tried to unroll it manually, it kept making copies of everything every time I tried to rotate it. This was really annoying but I just had to work around it. I’m still not sure what was wrong
Here is that flat part unrolled completely.
I really really want to learn how to make what I want to make in rhino, and I learn a lot better with a physical demonstration and so I think next time I’m in class I will get some help.
This is what I want to create
I also had an idea where I wanted to create a bead out of paper but I’m not sure if that would be too complicated because the center would be not there. It would essentially be the same shape as the rabbit head but without the caps on the top of the shape
I wanted to make a charm bracelet with beads of varying shape and size, but I don’t know how to do that with the skill set I have right now.
In theory, because the beads would have the same inner hexagonal dimensions as the “string” for the beads, they would slide right on. I’d have to assemble the string one section at a time, adding beads to each section as I go to accommodate the curves of the string.


Comments
Post a Comment